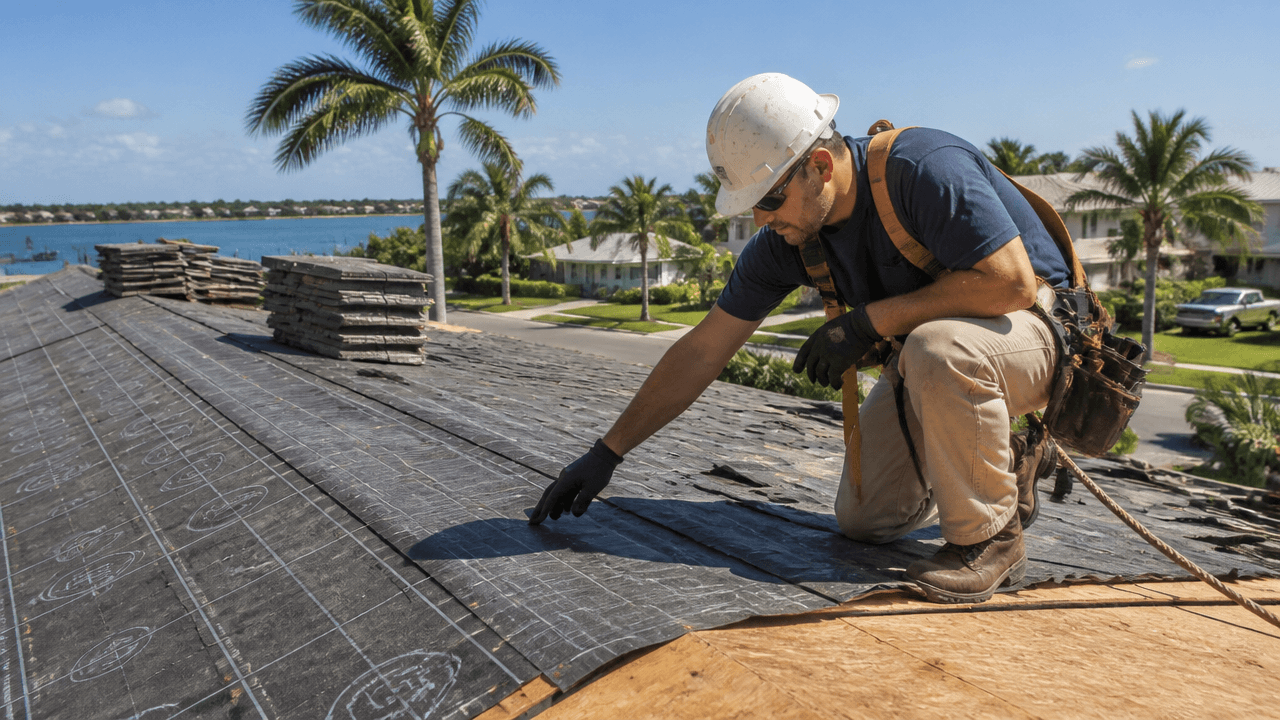
• Understand HOA Guidelines: Gain insight into Homeowners Association (HOA) rules for roofing, ensuring compliance before starting a project.
• Expert Tips: Learn strategies from experienced professionals to navigate architectural roofing guidelines successfully.
• Professional Assistance: Discover why enlisting the help of roofing experts can streamline the approval process and guarantee adherence to HOA standards.
Identifying HOA Roofing Non-Compliance
Homeowners in Fort Pierce understand the value of a well-maintained community, and that begins with adherence to HOA architectural roofing guidelines. Non-compliance can manifest as unexpected leaks, signaling that your roofing materials may not be up to the task of handling Florida’s varied climate. If you notice any wear and tear that seems out of the ordinary, this could be a sign that the materials weren’t approved or installed correctly. Fort Pierce residents should also be wary of any mismatched patching on their roof, which not only detracts from the aesthetic unity of the neighborhood but also often violates HOA regulations.
Another indicator of potential issues is the state of your neighbors’ roofs. If yours stands out because it’s an odd color or uses materials different from those around you, such deviations could be breaching community standards. Taking a walk around the neighborhood to compare your roof to others can provide insight into whether you’re blending harmoniously or standing out for the wrong reasons. Catching these disparities early can save you from the headache of a forced correction after an HOA inspection.
Lastly, it’s crucial to review any correspondence from your HOA, as they might include notices of updates to roofing policies that could affect your home. Knowing the current guidelines is essential for maintaining the value and integrity of your property in Fort Pierce’s tight-knit communities. A proactive approach to understanding any changes can preempt violations and the unexpected costs associated with resolving them. Ownership in an HOA community means staying ahead of these curves and ensuring a smooth, compliant living experience for all residents.
Step-by-Step Guide to HOA Roofing Approval
Embarking on the roofing project journey begins with thorough groundwork. Before anything else, residents must immerse themselves in the HOA’s governing documents, discerning all roofing-related stipulations. It’s important to comprehend the extent of these guidelines – not just for the sake of compliance, but to also appreciate the collective aesthetic and property value they uphold. Ken Osteen, a dedicated Fort Pierce local and long-time board member, stresses the importance of this step, noting, “Understanding these policies is a cornerstone to maintaining the unique charm and durability of our homes.”
Upon grasping the HOA’s roofing requirements, the next logical step is designing a roof within the set parameters. Here’s where a professional’s input becomes invaluable, guiding homeowners through material selections that harmonize with the neighborhood’s vibe, while also complying with structural and weather resilience standards. Homeowners in the area shouldn’t hesitate to seek a consultation with GM Roofing, a trusted provider acclaimed for navigating these local nuances with finesse. The collaboration between a knowledgeable contractor and a well-informed homeowner can make the approval process a seamless experience, paving the way for a stress-free project launch.
Step 1: Understand Your HOA’s Roofing Policies
Research your Homeowner Association’s specific roofing guidelines. Review your HOA’s covenants, conditions, and restrictions (CC&Rs) documents, focusing on sections that detail exterior modifications.
Step 2: Select Suitable Roofing Materials
Choose roofing materials that align with both the HOA regulations and the architectural style of your home. Ensure the materials match the approved color palette and material types mentioned in the HOA guidelines.
Step 3: Submit Design Proposals
Prepare a roofing design proposal if required by your HOA. Include detailed drawings, material samples, and colors for your new roof, and submit this proposal to the HOA architectural committee for approval.
Step 4: Hire an Approved Contractor
Select a licensed roofing contractor who has experience working with HOA approvals. They will be familiar with the necessary processes and might provide additional insights into compliant roofing practices.
Step 5: Acquire Necessary Permits
Work with your contractor to obtain any building permits that may be required by your local municipality before proceeding with any roofing work.
Step 6: Schedule the Roofing Work
Coordinate with your contractor to schedule the roofing work during permissible times according to your HOA rules, avoiding disturbances to neighbors.
Step 7: Notify Your HOA
Inform your HOA about the approved project details and the scheduled dates for the roofing work to keep them updated and to ensure transparency.
Step 8: Conduct Final Inspections
Once the roofing work is completed, arrange for a final inspection by the HOA architectural committee, if necessary, to confirm that the implemented roofing abides by the documented architectural guidelines.
Common Pitfalls in Navigating HOA Roofing Regulations
When it comes to updating your home’s roofing in line with your HOA’s guidelines, a clear understanding is just as important as the execution. Despite best intentions, homeowners often stumble during this process, leading to costly and time-consuming setbacks. To ensure your roofing project progresses smoothly, it’s vital to be aware of, and avoid, common missteps that can derail your plans.
Mistake 1: Ignoring Specific HOA Guidelines
Not fully reviewing and understanding the HOA’s architectural roofing guidelines is a frequent oversight. This lapse can lead to using prohibited materials or designs, resulting in project delays or denials. To avoid this, homeowners should thoroughly scrutinize the HOA’s CC&Rs, paying attention to details regarding exterior modifications.
Mistake 2: Choosing Non-Compliant Materials
A common blunder is selecting roofing materials based solely on aesthetics or cost without considering HOA approval. This can not only lead to a breach of HOA rules but also potential fines or mandated redo of the roofing work. Homeowners must carefully select materials that satisfy both the HOA criteria and complement their home’s architectural style.
Mistake 3: Neglecting to Submit Design Proposals
Sometimes, residents might skip the step of submitting a design proposal to the HOA for approval, underestimating its importance. Failure to do so can halt the project before it even begins. Ensure you include detailed drawings and material samples in your proposal to facilitate a smooth approval process.
Mistake 4: DIY Without Professional Consultation
DIY enthusiasts might attempt roofing projects without professional guidance, not fully realizing the expertise required for HOA-compliant renovations. This can lead to structural issues or non-compliance with HOA standards. Enlisting the help of a licensed roofing contractor experienced in dealing with HOA approvals can prevent these errors.
Mistake 5: Not Acquiring Necessary Permits
Taking on roofing projects without the requisite building permits can lead to legal trouble and project suspension. Prior to any work, coordinate with your contractor to ensure that all municipal permits are obtained and properly filed.
Mistake 6: Poor Scheduling and Neighbor Consideration
Beginning work without considering the HOA’s rules about permissible work hours and failing to notify neighbors can tarnish community relations. Schedule the roofing work during approved times and inform nearby residents to uphold neighborhood tranquility and compliance.
Mistake 7: Omitting Final Inspection Arrangements
Overlooking the necessity for a final inspection by the HOA can be the final stumble in the roofing project journey. After completion, organize an inspection with the HOA’s architectural committee to confirm adherence to the community’s roofing guidelines and finalize the project officially.
Finalizing Your HOA Roofing Project
Once the design proposal receives a nod from the HOA architectural committee, it’s essential to proceed with due diligence. This includes acquiring the necessary local permits—a step that underscores the legitimacy and safety of the roofing project. It also sets a precedent within the community, demonstrating commitment to standards and a respect for protocol.
Maintaining open communication lines with your HOA is another critical aspect of this process. Notify your HOA of the start and expected completion dates of the project, as this transparency helps foster a collaborative community spirit. For more details on project scheduling and communication best practices, consult with GM Roofing experts, who can offer tailored advice for your specific HOA and roofing project.